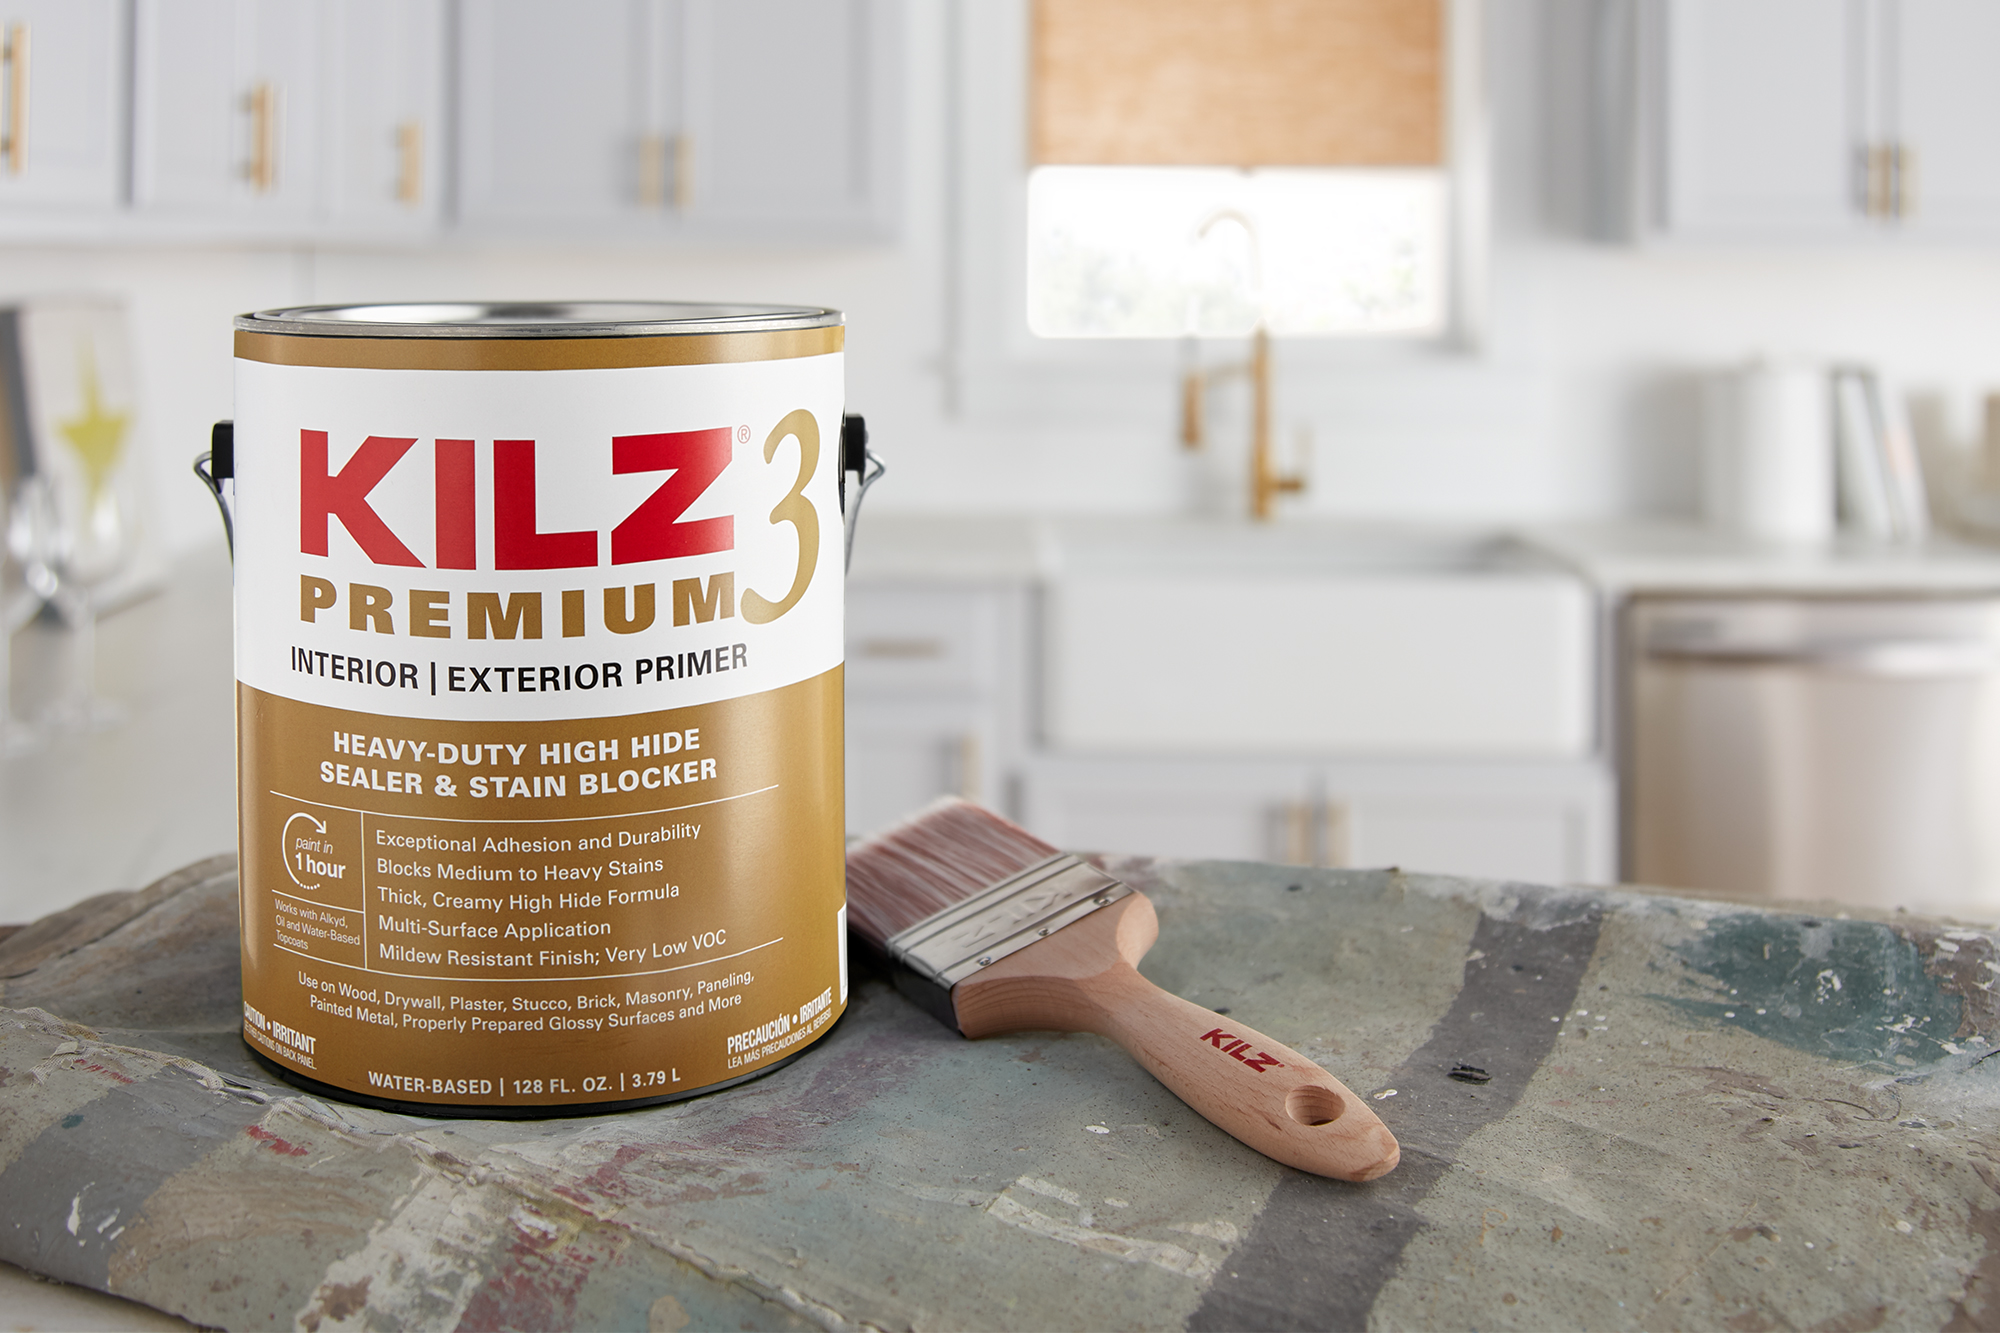
Preparing Your Kitchen Cabinets for Painting: Kitchen Cabinet Paint Kit

Getting your kitchen cabinets ready for a fresh coat of paint is essential for achieving a beautiful and long-lasting finish. Proper preparation ensures the paint adheres well and lasts for years to come.
Tools and Materials for Prepping Kitchen Cabinets
The right tools and materials make cabinet prep easier and more efficient. Here’s a list of essential items:
- Screwdriver: For removing cabinet doors and hardware.
- Putty knife: For scraping off old paint, caulk, and other debris.
- Sandpaper: Various grits for smoothing surfaces (80-grit for rough sanding, 120-grit for fine sanding, and 220-grit for final sanding).
- Tack cloth: For removing dust and debris after sanding.
- Cleaning supplies: Degreaser, soap, and water for cleaning cabinets thoroughly.
- Paint thinner or mineral spirits: For cleaning brushes and rollers.
- Drop cloths: To protect your floors and surrounding areas from paint spills.
- Painter’s tape: For masking off areas you don’t want to paint.
- Safety gear: Gloves, eye protection, and a respirator mask to protect yourself from dust and fumes.
Sanding Kitchen Cabinets
Sanding is crucial for creating a smooth surface that allows the paint to adhere properly. Here’s a step-by-step guide:
- Remove Cabinet Doors and Hardware: Start by removing the cabinet doors and all hardware, including hinges, knobs, and pulls. This allows for easier access and a more even sanding process.
- Start with Rough Sanding: Use 80-grit sandpaper to remove any loose paint, imperfections, or old finishes. This step creates a rough surface that the paint can grip onto.
- Progress to Fine Sanding: After rough sanding, switch to 120-grit sandpaper to smooth out the surface. This step removes any scratches or unevenness left from the rough sanding.
- Final Sanding with Fine Grit: Finish sanding with 220-grit sandpaper. This step creates a smooth, even surface that will ensure a professional-looking paint job.
Cleaning Kitchen Cabinets
After sanding, it’s essential to clean the cabinets thoroughly to remove dust, debris, and any remaining residue. This ensures the paint adheres properly and prevents imperfections in the final finish. Here’s how to clean your cabinets:
- Use Degreaser: Apply a degreaser to the cabinets using a clean cloth. This helps remove any grease, oil, or grime that might be present. Degreasers are specifically formulated to break down these substances.
- Rinse with Water: After applying degreaser, rinse the cabinets thoroughly with clean water to remove any residue. Ensure all surfaces are clean and free of any soap or degreaser.
- Dry Thoroughly: Allow the cabinets to dry completely before moving on to the next step. A damp surface can affect the paint adhesion and create imperfections in the finish.
Important Note: Always wear safety gear, such as gloves, eye protection, and a respirator mask, when sanding and cleaning cabinets. This helps protect you from dust, debris, and harmful fumes.
Painting Your Kitchen Cabinets with a Paint Kit

With your cabinets prepped and ready, it’s time to unleash your inner artist and transform your kitchen. This guide will walk you through the process of painting your cabinets using a specialized paint kit, ensuring a professional-looking finish.
Applying Paint with a Kitchen Cabinet Paint Kit
A kitchen cabinet paint kit typically includes everything you need for a successful paint job: high-quality paint, primer, brushes, rollers, and even sanding tools. This all-in-one solution makes painting your cabinets a breeze.
- Primer: Start by applying a coat of primer to your cabinets. Primer creates a smooth, even surface for the paint to adhere to, ensuring a more durable and long-lasting finish.
- Paint Application: Once the primer is dry, you can begin painting. Use a high-quality brush for intricate areas and a roller for larger surfaces. Apply thin, even coats of paint, allowing each coat to dry completely before applying the next.
- Final Touches: After the final coat of paint has dried, you can add a clear sealant for extra protection and a glossy finish.
Painting Techniques for a Smooth Finish, Kitchen cabinet paint kit
Achieving a smooth, professional-looking finish on your cabinets requires careful attention to technique. Here are some tips to help you get the best results:
- Brush Strokes: When using a brush, use long, even strokes in the same direction. Avoid overlapping strokes, as this can create brush marks.
- Roller Technique: When using a roller, apply paint in a W or M pattern, ensuring even coverage.
- Sanding Between Coats: Light sanding between coats helps create a smooth surface and eliminates any imperfections.
Avoiding Common Painting Mistakes
Even experienced painters can make mistakes. Here are some common painting pitfalls to avoid:
- Insufficient Preparation: Failing to properly prepare your cabinets can lead to a less-than-perfect finish.
- Over-Application of Paint: Applying too much paint in one coat can cause drips and runs.
- Skipping the Primer: Skipping primer can result in uneven paint coverage and a less durable finish.
A kitchen cabinet paint kit can be a total game-changer for your space, giving it a fresh new look without a major renovation. And while we’re on the topic of transforming spaces, have you seen those adorable hanging chairs for girls’ bedrooms ?
They’re seriously cute! Anyway, back to those cabinets – with a little elbow grease and a few cans of paint, you can make your kitchen look like a million bucks.
Revamping your kitchen cabinets with a paint kit can be a game-changer, adding a fresh, modern touch to your space. But don’t forget about the bedroom! Adding some ambiance with light balls for bedroom can create a cozy and inviting atmosphere.
Just like a fresh coat of paint can transform your kitchen, these light balls can elevate your bedroom to a whole new level of relaxation and style.
